Cedar Shake vs. Cedar Shingles: Architectural Differences
Before diving into installation costs or maintenance routines, it is important to clear up a common point of confusion: the difference between cedar shakes and cedar shingles. While people often use the terms interchangeably, they are distinct products with different manufacturing methods and visual profiles.
Cedar shakes are traditionally split from logs, which yields a thick, heavily textured surface with varied grain patterns and subtle rustic irregularities. Cedar shingles, on the other hand, are sawn smooth on both sides, creating a thin, uniform plank designed for clean, tailored lines. Shakes produce deep shadow lines across your home’s exterior that catch the sunlight, giving the facade a multi-dimensional, hand-crafted appearance.
When selecting real wood siding, wood species matters just as much as the cut. The two primary options you will encounter are:
- Western Red Cedar: Known for its rich reddish-brown hues, exceptional dimensional stability, and high natural oil content that repels rot and wood-boring insects.
- Alaskan Yellow Cedar: Technically part of the cypress family, this wood features a dense grain structure and a bright straw-yellow tone. It is exceptionally durable, highly resistant to decay, and ideal for harsh climate exposure.
For maximum quality, homeowners should look for products certified under the Certi-label® Shake & Shingles – Cedar Shake & Shingle Bureau standard. Certi-label certification guarantees that the shakes have been independently inspected for proper thickness, grain orientation (such as 100% edge grain), and heartwood content.
Exterior Style Combinations
A cedar shake on house exterior isn’t limited to rustic cabins. While wood shakes are famous on traditional Craftsman bungalows, Cape Cod cottages, and historic farmhouses, modern architects frequently use them on contemporary builds to inject warm organic texture into modern designs.
There are two primary installation layouts for shakes:
- Staggered Butt-Lines: Shakes are installed with alternating vertical offsets, creating an informal, wave-like texture full of shadow and character.
- Straight (Even) Butt-Lines: Shakes are laid in perfectly level rows, giving the exterior a tidier, semi-formal look that pairs cleanly with crisp white trim.
For additional architectural depth, many homeowners pair real wood siding with masonry accents. If you want to see how natural materials elevate an exterior, read The Ultimate Guide to Brick and Cedar Shake Homes.
Benefits and Challenges of Installing a Cedar Shake on House Exterior
Choosing wood siding involves weighing unmatched natural beauty against real-world maintenance demands. Cedar is an extraordinary material, but like any organic product, it requires the right environment and installation methods to thrive.
Key Advantages of Real Wood Cedar Siding
- Natural Decay and Pest Resistance: Cedar produces natural compounds called thujaplicins and extractives. These built-in oils act as natural antimicrobials and insect repellents, protecting the wood against rot, termites, and carpenter ants without requiring harsh chemical pressure treatments.
- Dimensional Stability: Unlike many softwoods that warp, cup, or shrink when exposed to rain and humidity, cedar has very low density and minimal shrinkage. It holds its shape remarkably well across hot summers and freezing Wisconsin winters.
- Impact Resistance and Insulation: Thick hand-split cedar shakes absorb hail impacts better than thin vinyl or aluminum. Wood also serves as a natural thermal insulator, helping boost your home’s overall energy performance.
If you are evaluating different exterior upgrades for your home, explore the Top Benefits of Upgrading Your Home with Siding Replacement.
Potential Drawbacks and Environmental Challenges
- Moisture Entrapment: If cedar shakes are installed directly flat against solid wall sheathing without an air gap or breather layer, trapped moisture cannot evaporate. Over time, constant dampness leads to wood decay and paint failure.
- Moss and Mildew Accumulation: Shaded elevation walls—especially north-facing exterior walls underneath heavy tree canopies—stay damp longer after rainstorms. This creates an ideal environment for moss, algae, and mildew. While moss does not instantly ruin cedar, its roots hold moisture against the wood surface.
- Variable Weathering: Sun exposure varies significantly across different sides of a house. South-facing walls bathed in direct sunlight weather to a gray patina much faster than sheltered walls under porch overhangs, resulting in temporary color variations.
- Fire Safety Considerations: Un-treated natural wood shakes carry a Class C fire rating. In wildland-urban interface zones or areas with strict fire codes, shakes must be factory-pressure-treated with fire retardants to achieve a Class A fire rating.
If your current cladding is displaying soft spots, rot, or curling edges, check out 5 Signs It’s Time to Install New Siding on Your Home.
How Untreated Cedar Shake Weather Protection and Patina Evolve
One of the most remarkable qualities of a cedar shake on house exterior is how it gracefully changes color as it ages. Unlike painted wood or synthetic panels that fade or peel over time, untreated natural cedar develops a protective patina that improves visually as the years go by.
When raw cedar is exposed to sunlight, rainwater, and air, the sun’s ultraviolet rays break down the natural tannins and surface sugars on the outermost wood fibers. Rainwater gently washes these compounds away, allowing the surface to shift from bright golden tones to soft earth tones, eventually stabilizing into a uniform silver-gray finish.
To see how real homeowners document this natural shift, read The Cedar Shake Siding Reveal at the Poplar Cottage.
The Aging Timeline of a Cedar Shake on House
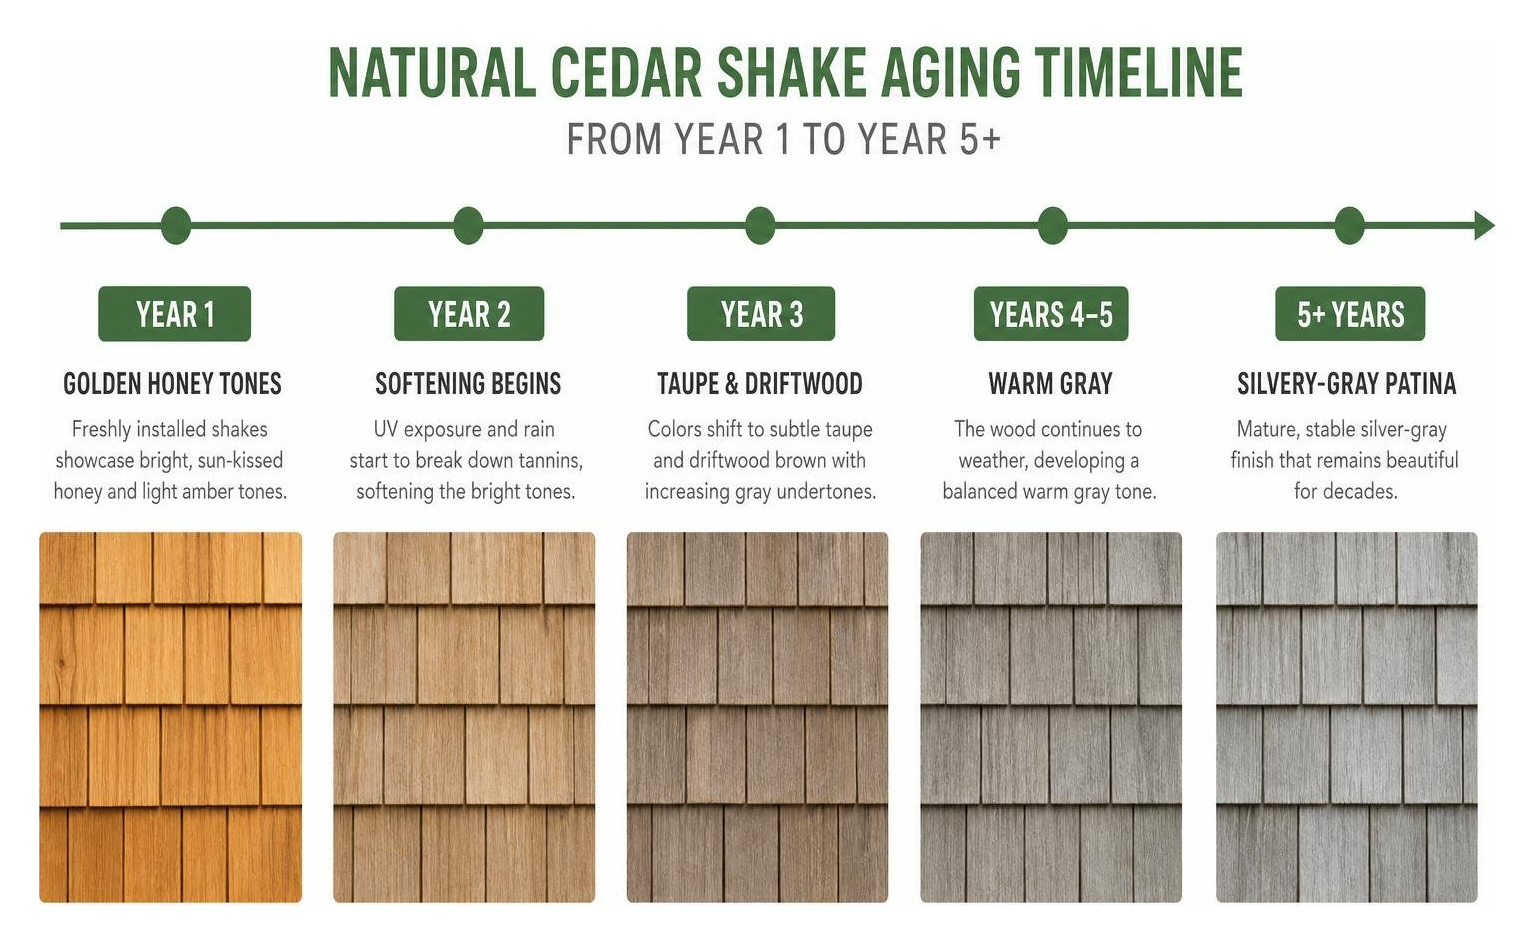
- Year 1 (Golden Honey Tones): Freshly installed shakes showcase bright, sun-kissed honey and light amber tones.
- Years 2–5 (Soft Taupe and Warm Gray): As UV light and moisture act on the wood surface, the bright yellow hues soften into subtle taupe, driftwood brown, and soft gray.
- 5+ Years (Silvery-Gray Patina): The wood reaches its mature state—a classic, weathered silver-gray finish that remains stable for decades.
Accelerating the Graying Process with Ferrous Sulphate
If you prefer an aged silver patina immediately rather than waiting several years for uneven sun exposure to take effect, you can pre-age raw cedar shakes. Spraying newly installed, untreated wood with a mild solution of ferrous sulphate (iron salt) reacts with the natural wood tannins, instantly turning the wood a soft gray hue within hours.
Practical Care and Maintenance Requirements for Cedar Shakes
A common myth is that natural wood siding requires constant, exhausting maintenance. In reality, untreated cedar requires surprisingly minimal work—provided you perform basic preventive care.
To keep your cedar shakes healthy:
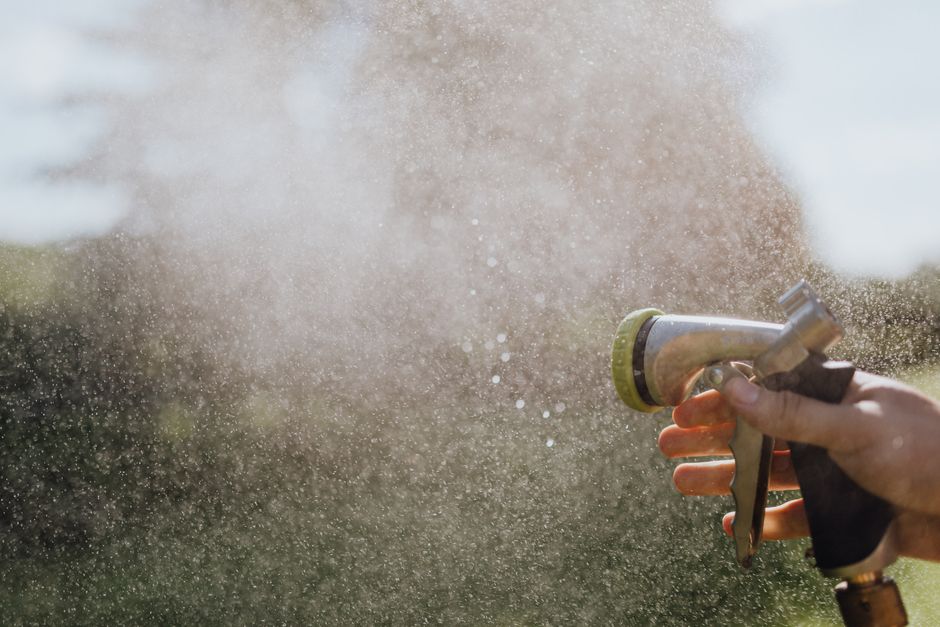
- Annual Water Rinse: Every spring, use a standard garden hose to gently wash away accumulated pollen, dirt, leaves, and surface dust. Never use a high-pressure power washer on cedar shakes, as strong water streams can gouge soft wood fibers and force water behind the siding.
- Mildew & Moss Removal: If moss or algae develops in shaded sections, spray the wall with an eco-friendly oxygen bleach solution mixed with water. Allow it to sit for 10 to 15 minutes, gently scrub the surface with a soft-bristle brush, and rinse clean with fresh water.
- Trim Vegetation: Keep tree branches, bushes, and shrubs trimmed at least 12 to 18 inches away from your siding to maximize air circulation and sunlight exposure.
Staining and Painting Options for a Cedar Shake on House
While leaving cedar untreated is popular, many homeowners choose to stain or paint their shakes for custom color schemes or extra surface protection.
- Semi-Transparent Stains: Penetrating oil-based or alkyd stains add pigment while allowing the natural wood grain to shine through. Stains do not form a rigid film on top of the wood, meaning they won’t chip, peel, or blister as the wood expands and contracts. Re-application is typically needed every 3 to 5 years.
- Painting Cedar Shakes: If you decide to paint your cedar shakes, preparation is critical. Cedar wood contains water-soluble tannins that bleed right through standard water-based paints, leaving dark yellow brown stains. You must first apply a high-quality oil-based primer (or stain-blocking alkyd primer) over all bare surfaces to block tannin bleed. Once the primer dries completely (allow 24 hours), finish with two coats of 100% acrylic latex exterior paint. To learn more about proper paint application on real wood, read Exterior Paint on Cedar Siding.
Individual Shake Replacement and Maintenance Schedule
One major structural advantage of cedar shake siding is repairability. If a stray baseball or fallen tree branch cracks a single shake, you don’t need to strip down entire wall sections as you often do with interlocking vinyl panels. You simply slip a flat pry bar under the damaged shake, remove the fasteners, slide out the broken piece, and nail a replacement shake into position.
When making spot repairs, always use stainless steel or hot-dipped galvanized nails. Cedar reacts chemically with standard iron or steel nails, causing rapid corrosion that leaves black streak stains down your walls.
To understand the long-term aesthetic and resale benefits of replacing aged exterior cladding, check out 4 Great Benefits of Replacing Outdated Siding.
Cost Comparison and Installation Complexity
Installing cedar shake siding is an investment in architectural craftsmanship. Because each shake is handled, aligned, and nailed individually, labor demands are significantly higher than hanging large lap siding panels.
| Siding Material | Average Expected Lifespan | Upfront Relative Investment | Maintenance Demands | Primary Benefits |
|---|---|---|---|---|
| Real Cedar Shake | 50+ Years | High | Low to Moderate (Rinse / Restain) | Natural beauty, 50+ yr lifespan, easily spot-repaired |
| Vinyl Siding | 20–25 Years | Low | Very Low (Occasional wash) | Budget-friendly, wide color choice, lightweight |
| Fiber Cement | 30–50 Years | Moderate to High | Low (Repaint every 10–15 yrs) | Class A fire rating, pest-proof, dimensionally stable |
| Engineered Wood | 25–50 Years | Moderate | Moderate (Repaint cycles) | Real wood appearance, consistent factory planks |
Professional Installation vs DIY Timeline Expectations
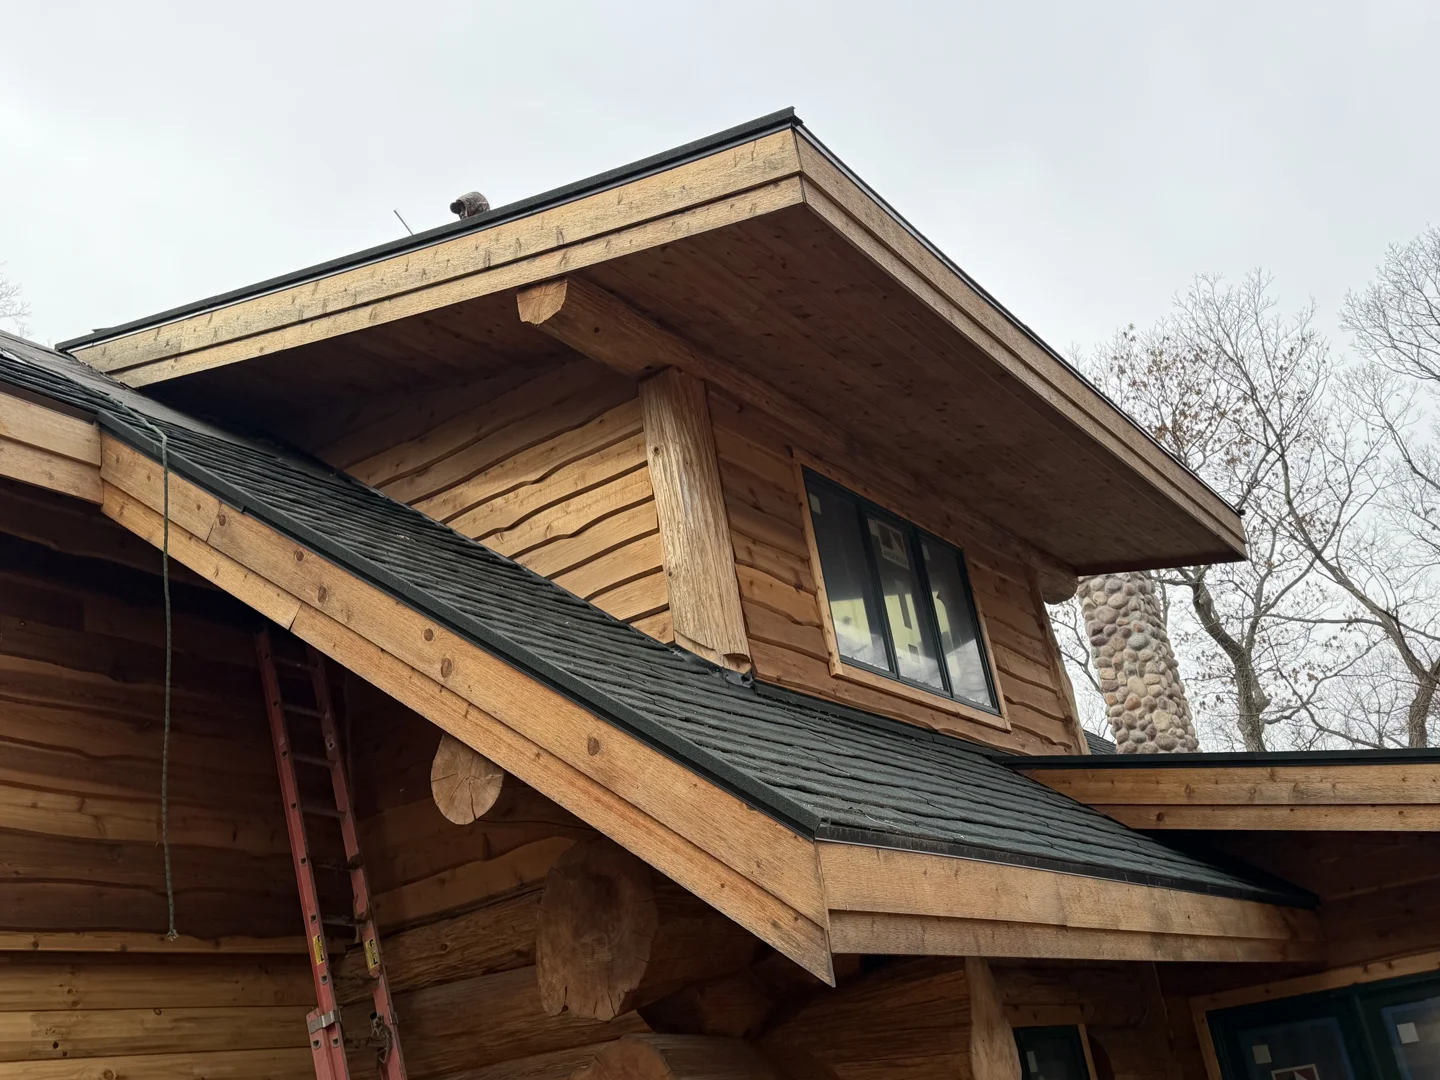
Can you install cedar shake siding as a DIY project? Yes—but you must go into it with clear expectations.
Installing individual wood shakes across a full two-story residence is a slow, methodical process. For a homeowner working evenings and weekends, siding an entire house can take well over a year. A skilled professional crew, by contrast, completes the process in a fraction of the time while ensuring all weatherization details meet regional building codes.
Proper installation requires a layered approach:
- Wall Preparation: Inspect plywood sheathing for water damage and install a high-quality weather-resistive house wrap barrier.
- Ventilation Layer: Mount a 3D mesh breather layer or furring strips over the house wrap. This creates a drainage channel that lets air circulate behind the shakes so they can dry quickly.
- Level Starter Course: Establish a double layer of shakes along the bottom foundation line as the base.
- Staggered Placement: Work upward course by course, driving two stainless steel fasteners per shake, maintaining a 3/8-inch expansion gap between adjacent shakes, and offsetting vertical keyway joints by at least 1.5 inches to block wind-driven rain.
Working with an experienced contractor guarantees crisp alignment around windows, dormers, and gables. Learn more about how expert craftsmanship increases home value by reading Siding Replacement Company Boost Home Value.
Frequently Asked Questions About Cedar Shake Siding
How long does cedar shake siding last on a house?
When installed over a well-ventilated rainscreen layer with proper joint flashing, high-grade cedar shake siding can last 50 years or more. Cedar’s natural oils preserve the wood structure far longer than standard softwoods or vinyl siding, which typically degrades within 20 to 25 years.
Can cedar shake siding be left completely untreated?
Yes. Millions of coastal homes and historic farmhouses feature untreated cedar shake siding. Left raw, the natural oils inside Western Red Cedar and Alaskan Yellow Cedar protect the wood from rot and insects while it slowly ages into a silver-gray patina.
How does cedar shake siding compare to vinyl or fiber cement alternatives?
While vinyl siding costs less upfront, it lacks the deep visual texture of authentic split wood and degrades faster under severe weather. Fiber cement offer good fire resistance and wood-like textures, but real cedar allows for simpler individual shake repairs, provides higher natural insulation value, and delivers authentic architectural warmth.
Conclusion
A cedar shake on house exterior is more than just siding—it’s an investment in timeless character and lasting durability. While natural wood requires thoughtful installation and occasional care, its 50+ year lifespan, rot resistance, and evolving patina make it one of the most rewarding materials you can choose for your home.
Whether you’re restoring a historic cottage or designing a modern craftsman home, our experienced team at Smith Roofing & Exteriors is here to help you evaluate materials, plan your budget, and achieve a flawless installation. Contact us today to schedule your consultation!